Table of Contents
1. Introduction
2. What are Web Hooks?
3. Importance of Web Hooks in Financial Services
4. Setting Up Web Hooks in Your Online Checkout Integration
5. Cloning an Example Integration from GitHub
6. Configuring the Environment File
7. Creating an Endpoint on the Server
8. Verifying HMAC Signatures
9. Processing Notification Requests
10. Running Business Logic Based on Event Codes
11. Acknowledging Notifications
12. Setting Up a Public URL with ngrok
13. Customizing Notification Settings
14. Generating HMAC Key for Signed Notifications
15. Testing the Configuration
16. Conclusion
**Introduction**
In this article, we will explore the integration of web hooks into your online checkout integration. Web hooks play a crucial role in financial services due to the asynchronous information flow of banks, payment methods, and other financial systems. We will guide you through the process of setting up web hooks, verifying HMAC signatures, processing notification requests, and running business logic based on event codes. By the end of this article, you will have a clear understanding of how to leverage web hooks to enhance your online checkout integration.
**What are Web Hooks?**
Web hooks are a way for applications to communicate with each other in real-time. They allow one application to send a notification to another application when a specific event occurs. In the context of financial services, web hooks enable the seamless flow of information between banks, payment gateways, and merchants. By integrating web hooks into your online checkout integration, you can receive instant notifications about payment status updates, newly available reports, and other important information.
**Importance of Web Hooks in Financial Services**
Web hooks are essential in financial services due to the nature of asynchronous information flow. Traditional polling methods, where an application repeatedly checks for updates, can be inefficient and delay the delivery of critical information. With web hooks, financial institutions can instantly notify their customers about payment updates, transaction confirmations, and other important events. This real-time communication improves customer experience, reduces manual effort, and ensures timely decision-making.
**Setting Up Web Hooks in Your Online Checkout Integration**
To set up web hooks in your online checkout integration, we will guide you through a step-by-step process. Before diving into the technical details, make sure you have a current checkout integration. If you don't have one, we recommend cloning one of our example integrations from GitHub. This will provide you with a solid foundation to understand the integration process.
**Cloning an Example Integration from GitHub**
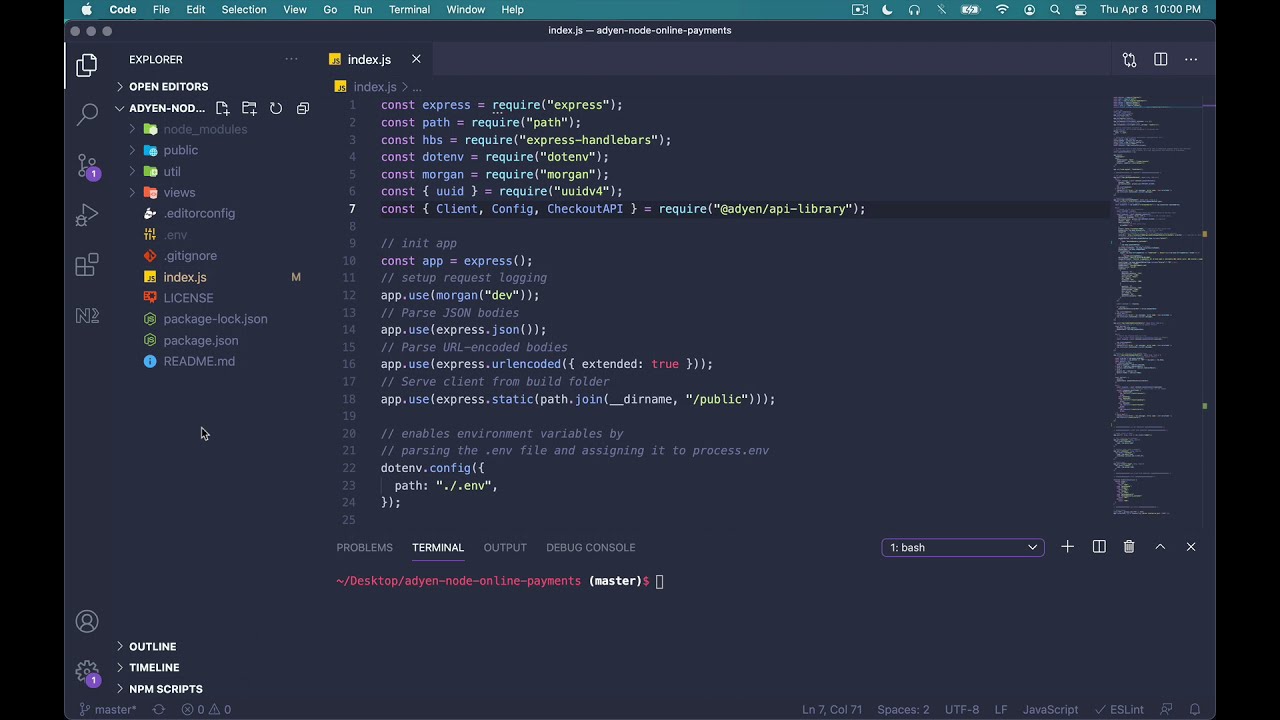
To quickly set up your integration, clone one of our example integrations from GitHub. These examples are well-documented and provide a practical starting point. Follow the step-by-step instructions provided in the documentation to clone the project and update the environment file with your credentials. This will ensure that you have the necessary configuration to proceed with the integration.
**Configuring the Environment File**
The environment file contains important configuration details for your integration. It includes your API key, client key, merchant account, and HMAC key. Make sure to generate the HMAC key and add it to your environment file. The HMAC key is a secret key that enables HMAC-signed notifications, ensuring the integrity and authenticity of the received notifications.
**Creating an Endpoint on the Server**
To handle incoming notifications, you need to create an endpoint on your server. This endpoint will receive the notifications sent by the financial institution. It is crucial to include logic for acknowledging the notifications, verifying their HMAC signatures, storing the notifications, and applying your business logic. We recommend using an HMAC validator to verify the signatures and protect your application server from unauthorized notifications.
**Verifying HMAC Signatures**
As you iterate through the list of notification request items, it is essential to verify their HMAC signatures. The HMAC validator will help you validate each notification request item by comparing its signature with the HMAC key you generated earlier. This step ensures the authenticity and integrity of the received notifications.
**Processing Notification Requests**
Once you have verified the HMAC signatures, you can process each notification request based on the event code. The event code indicates the type of event associated with the notification, such as authorizations, cancellations, refunds, or captures. Depending on the event code, you can run specific business logic to handle the outcome of the payment request or perform other necessary actions.
**Running Business Logic Based on Event Codes**
Based on the event code, you can run your business logic to handle the outcome of the payment request. For example, if the event code indicates a successful payment authorization, you can perform actions such as updating the payment status, sending confirmation emails, or triggering further processes. Make sure to tailor your business logic to your specific application requirements.
**Acknowledging Notifications**
To ensure the proper functioning of your application server, it is crucial to acknowledge the received notifications with an accepted response. This acknowledgment confirms that your server has received and processed the notification successfully. By acknowledging notifications, you maintain a reliable and efficient communication channel with the financial institution.
**Setting Up a Public URL with ngrok**
To set up the web hooks correctly, you need a public URL for your application. This allows the financial institution to send notifications to your server. One way to achieve this is by using a tool like ngrok, which helps you create a publicly accessible URL for your local application. Follow the instructions on the ngrok website to install and connect your account. Then, run ngrok from the command line on the designated port (e.g., port 8080) to establish the tunnel to your local application.
**Customizing Notification Settings**
In the customer area, you can customize the notification settings according to your requirements. Provide your server's public URL, which you obtained through ngrok, and select the desired information you want to receive in notifications. You can choose from various options, such as standardized mapping of results for ABS and CVC checks. Take advantage of these settings to receive the specific information you need to enhance your integration.
**Generating HMAC Key for Signed Notifications**
To receive HMAC-signed notifications, you need to generate an HMAC key. This key plays a crucial role in verifying the integrity of the notifications. Follow the instructions provided in the customer area to generate the HMAC key. Once generated, assign the value of the key to an environment variable, such as "hmac key," in your environment file. This ensures that your server can validate the HMAC signatures of the received notifications.
**Testing the Configuration**
After completing the configuration steps, it is essential to test your setup to ensure that you can receive notifications in your application. Test the configuration by simulating different scenarios and verifying that the notifications are received and processed correctly. This step helps you identify any potential issues and ensures the smooth functioning of your integration.
**Conclusion**
Integrating web hooks into your online checkout integration is crucial for seamless communication and real-time updates in financial services. By following the steps outlined in this article, you can set up web hooks, verify HMAC signatures, process notification requests, and run business logic based on event codes. Remember to customize the notification settings according to your requirements and test the configuration to ensure its effectiveness. With web hooks, you can enhance your online checkout integration and provide a better experience for your customers.
---
**Highlights:**
- Web hooks enable real-time communication in financial services.
- Asynchronous information flow necessitates the use of web hooks.
- Cloning example integrations from GitHub provides a solid starting point.
- Verifying HMAC signatures ensures the integrity of received notifications.
- Processing notification requests allows for tailored business logic.
- Acknowledging notifications maintains a reliable communication channel.
- ngrok helps set up a public URL for your local application.
- Customizing notification settings allows for personalized integration.
- HMAC keys are essential for verifying the integrity of notifications.
- Testing the configuration ensures the smooth functioning of the integration.
---
**FAQ:**
Q: What are web hooks?
A: Web hooks are a way for applications to communicate in real-time by sending notifications when specific events occur.
Q: Why are web hooks important in financial services?
A: Web hooks are crucial in financial services due to the asynchronous information flow, allowing instant notifications about payment updates and other important events.
Q: How can I set up web hooks in my online checkout integration?
A: You can set up web hooks by cloning example integrations, configuring the environment file, creating an endpoint on the server, and verifying HMAC signatures.
Q: How do I process notification requests?
A: You can process notification requests by running business logic based on event codes, which indicate the type of event associated with the notification.
Q: How can I test the configuration of web hooks?
A: You can test the configuration by simulating different scenarios and verifying that the notifications are received and processed correctly.
---
Resources:
- [AI Chatbot Product](https://www.voc.ai/product/ai-chatbot)

